How to Put a Photo in a Locket: Measure, Cut and Fit
Putting a photograph into a locket is not difficult, but the final millimetres matter. The safest method is to work slowly, test with a paper template and trim a spare print a little at a time.
What you will need
- Your open locket
- A sheet of miniature photographs
- Small, sharp scissors
- Tracing paper or thin plain paper
- A pencil
- Blunt-ended tweezers
- Clean, dry hands
- Good lighting and a clear surface

1. Check how the locket holds a photograph
Look for a removable clear insert, a retaining frame or a narrow inner lip. Do not prise at a delicate rim or force out an old insert. If the construction is unclear or fragile, ask the seller or a jeweller first.
2. Choose a photograph with room around the face
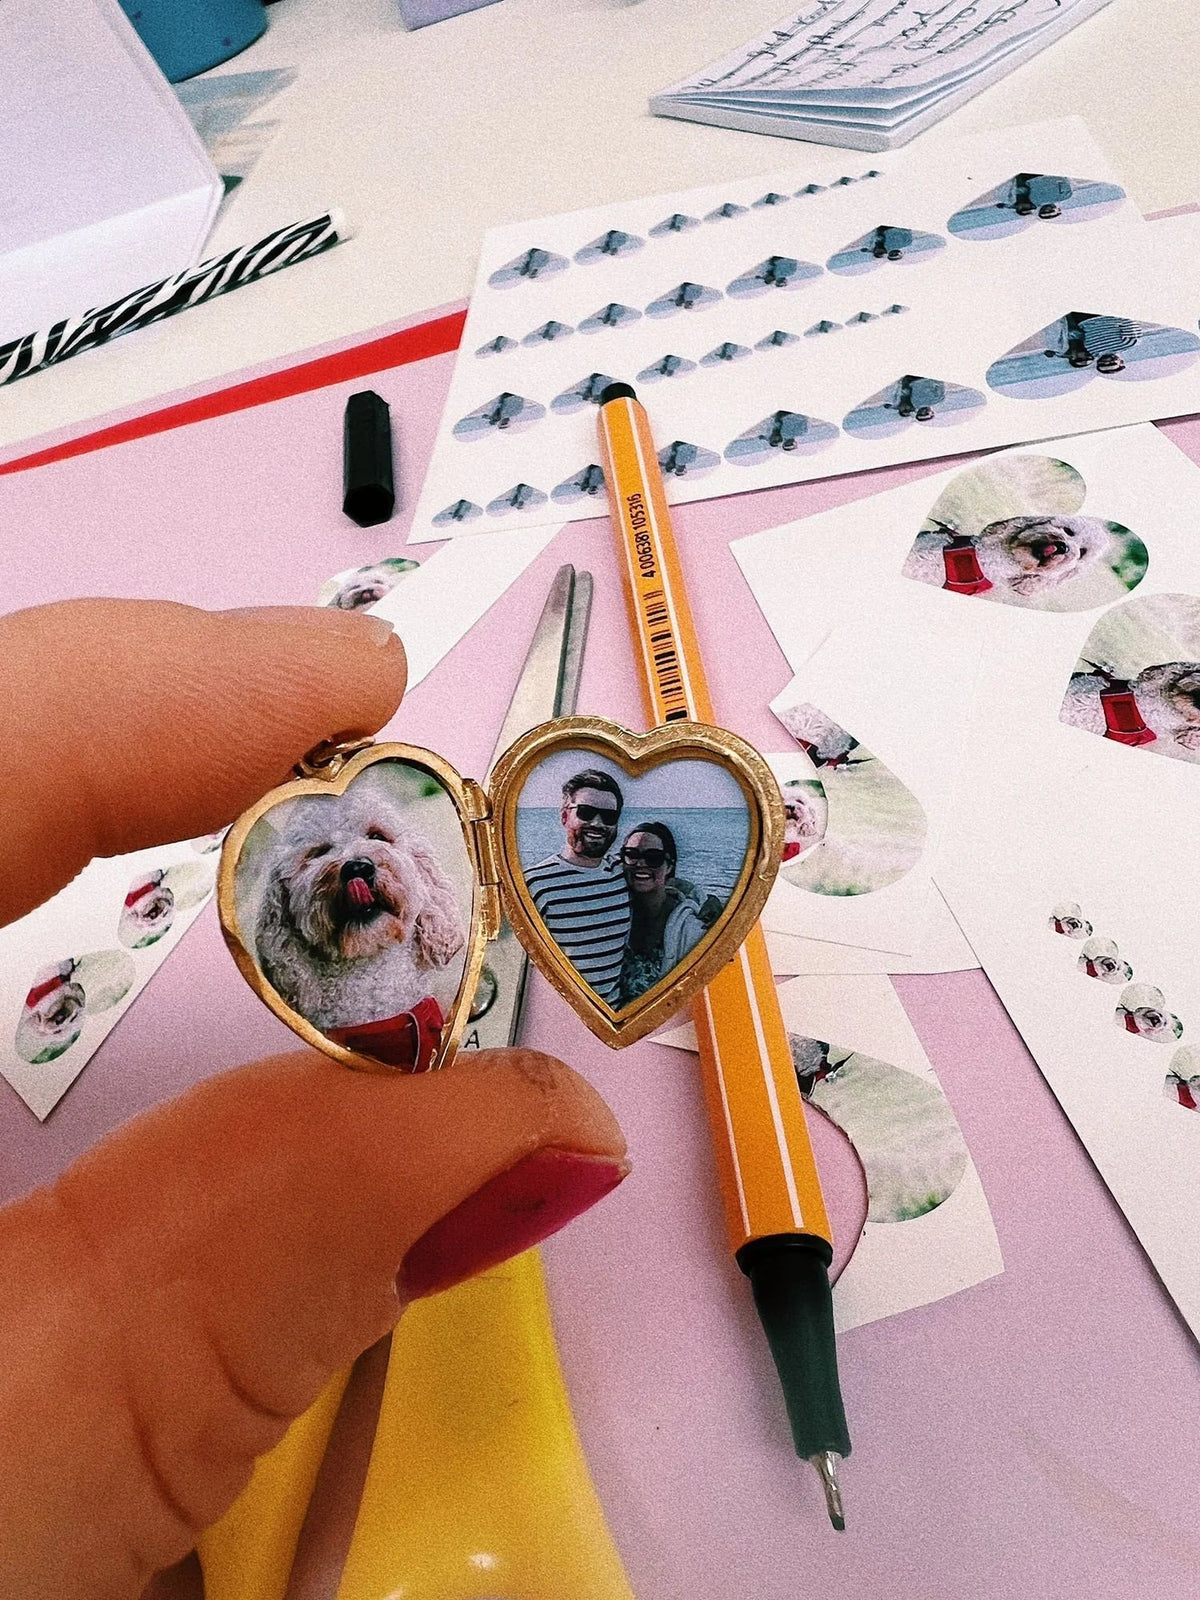
Use a clear original image with the important faces near the centre. Leave some space around heads and shoulders so a heart or oval crop does not cut into them. One face normally stays clearer than a large group in the smallest lockets.
3. Match the shape before the exact size
Start with the layout closest to the opening: heart, oval or round. For a rectangle or unusual shape, choose the flexible any-shape sheet.
4. Make a paper template
If the locket has a removable insert, trace around it. Otherwise, place tracing paper over the recess and mark the inner edge gently. Measure the usable space inside—not the outside of the jewellery.
5. Select a print slightly larger than the template
Choose the smallest miniature print that still covers the entire template. Place the template over the print and mark the shape lightly on the back.
6. Trim a little at a time
Cut just outside the line, test the photograph, then remove tiny slivers until it fits. Turn the photograph while keeping the scissors steady for a smoother curve. If it bends or catches, lift it out and trim again rather than pressing harder.

7. Secure it using the locket’s own fitting
Replace the clear insert or retaining frame and check that it sits evenly. Only use adhesive when the locket genuinely has no mechanical fitting. Choose a minute amount of acid-free, photo-safe adhesive.
8. Close and care for the locket
Close it gently and make sure the photograph does not obstruct the hinge or clasp. Keep it away from water, perfume and lotions. Featherlings prints resist the image running after a light splash, but the paper backing is water-resistant—not waterproof.


Quick answers
What size is a locket photograph?
There is no universal size. Measure the inner photograph recess or use its removable insert as a template.
Do the photographs arrive cut out?
No. The complete sheet arrives so you can compare the sizes and trim the closest match for your own locket.
Can I replace an old photograph?
Usually, provided the frame or insert opens safely. Keep the original photograph flat and protected if it has sentimental or historical value.
Ready to fill your locket?
Upload one photograph and receive 34 miniature prints in 17 sizes.

Written by Matthew Rann